Photo and Layout Guide for Your Custom Foam Insert
Step 1: Line the drawer with plain sheets of paper
This provides a contrasting background to improve tool detection.
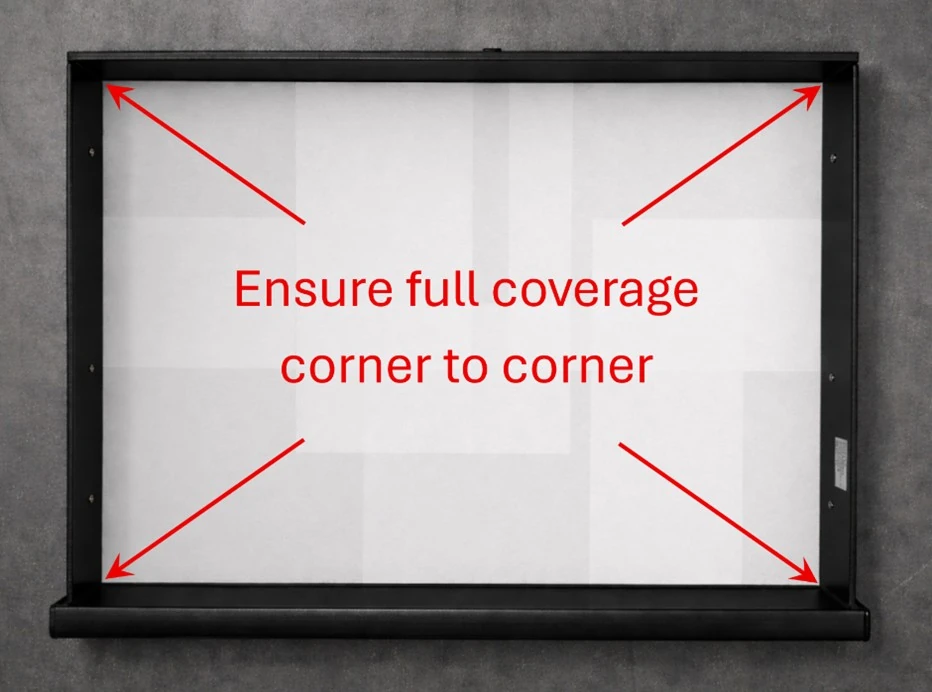
Place the paper against all 4 sides
This helps to detect the drawer corners to accurately scale the image.
Step 2: Arrange your tools
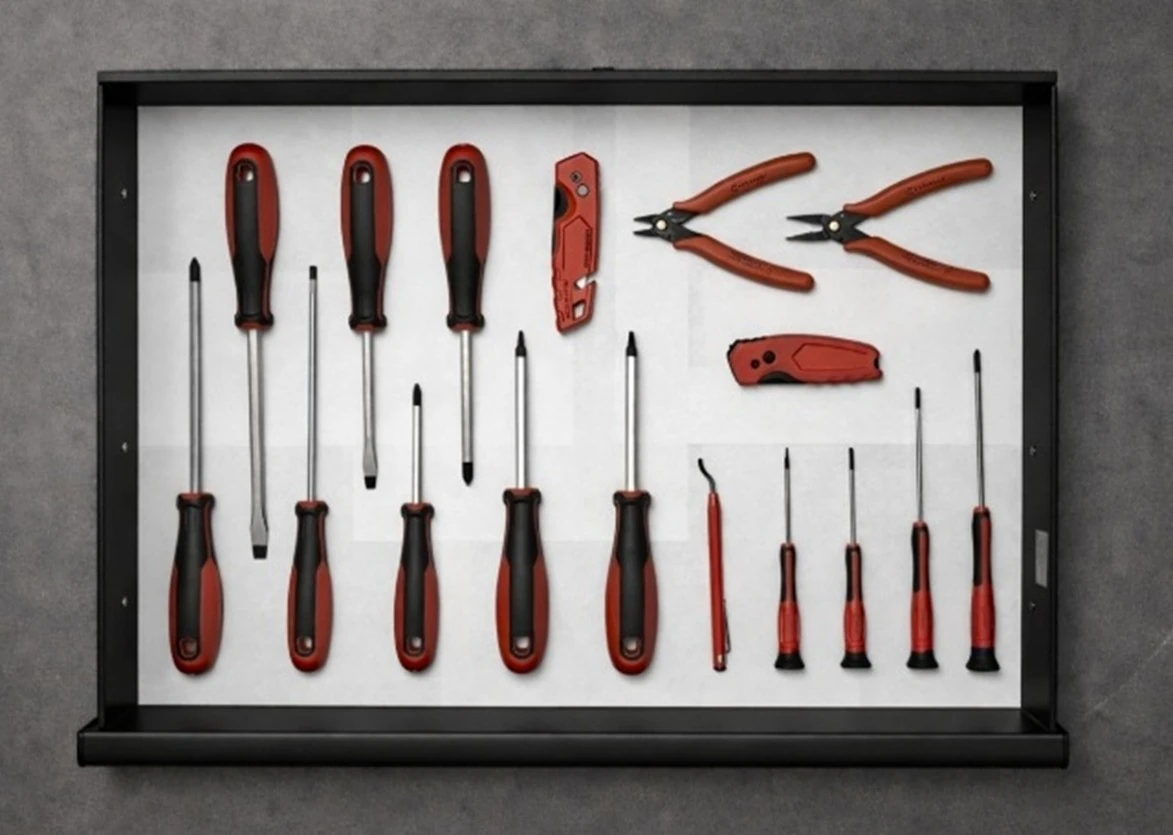
You can adjust alignment and spacing in the app's layout editor.
Step 3: Remove the drawer and place it on a level floor
Take the photo from directly above the center of the drawer, at about chest height, keeping the camera level (no tilt)
This helps reduce distortion, especially on taller objects.
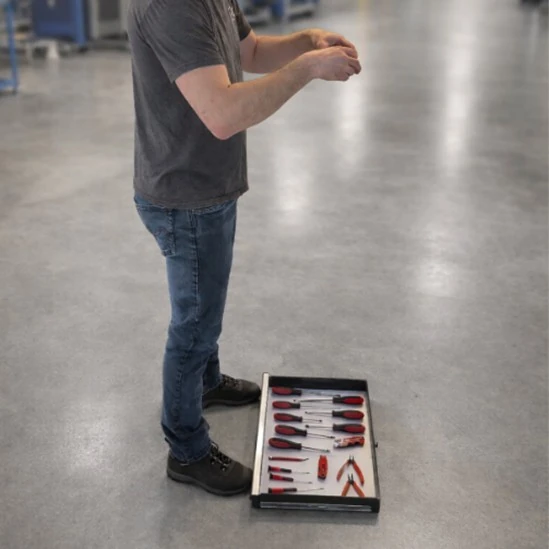
If a tall object still appears distorted, move it near the center of the drawer or lay it flat.
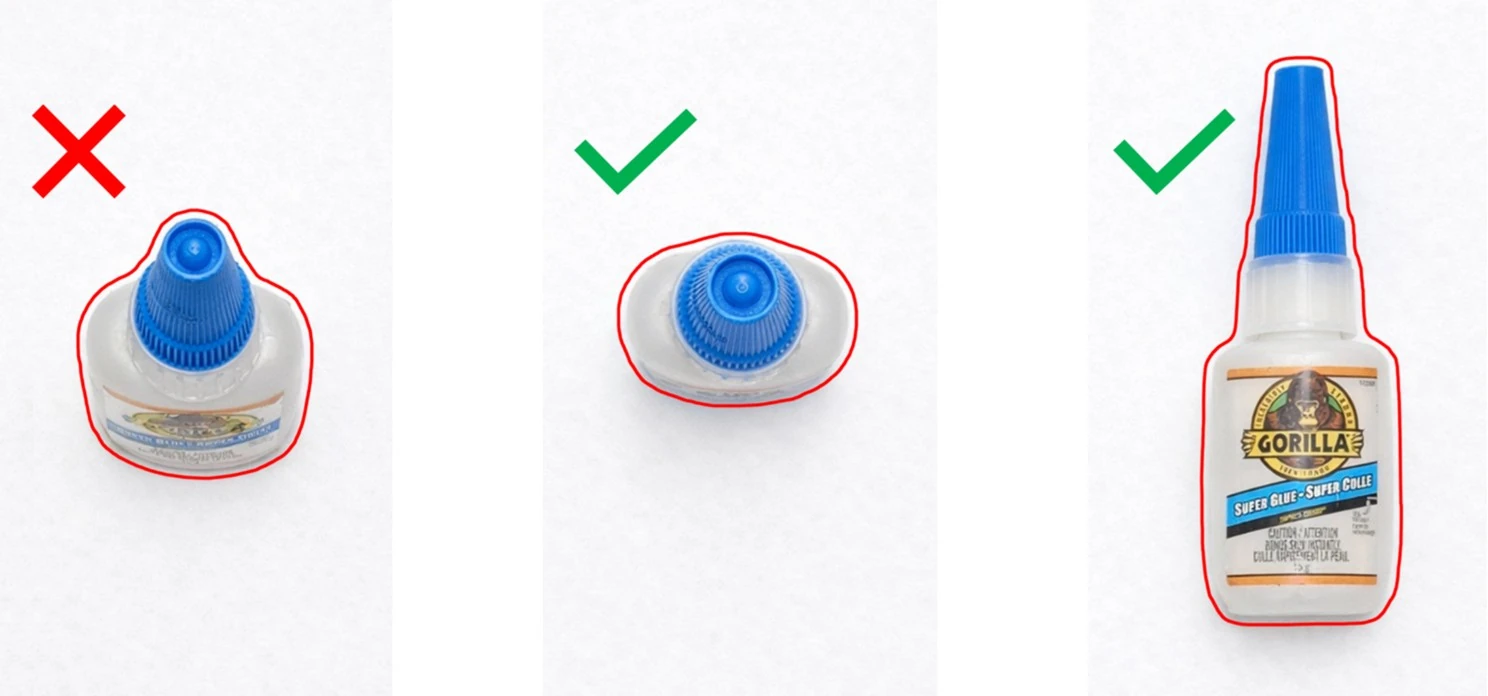
Step 4: Review your image.
If you can't clearly see the edges of your tools, then you may not be able to detect them accurately within the app. Take the photo in a well-lit room with strong overhead lighting to reduce shadows as much as possible.
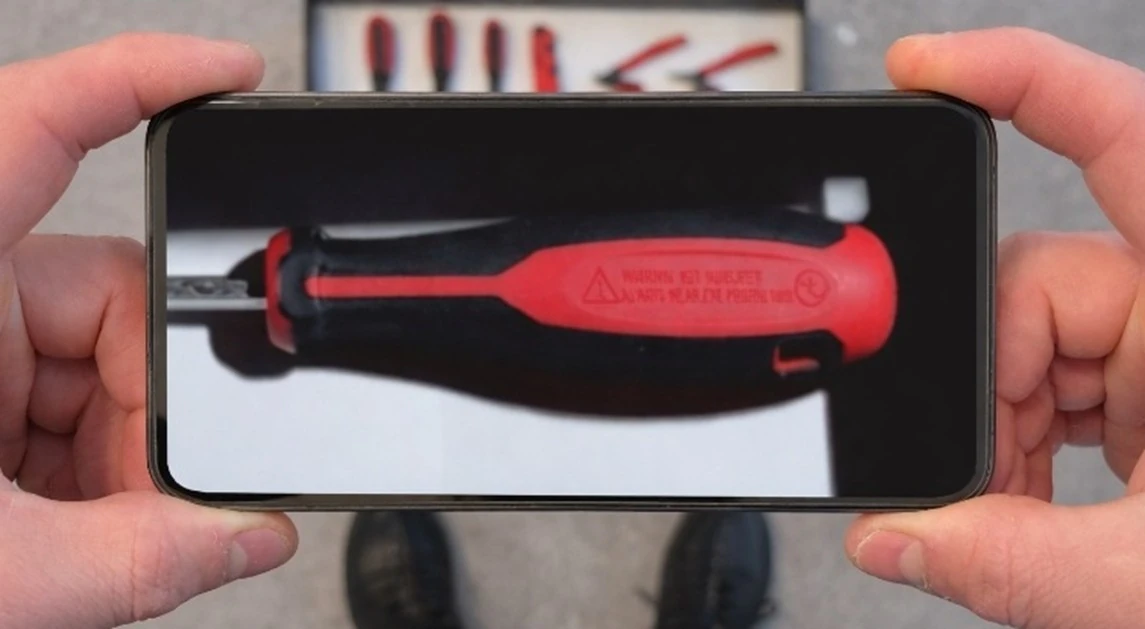
Additional tips
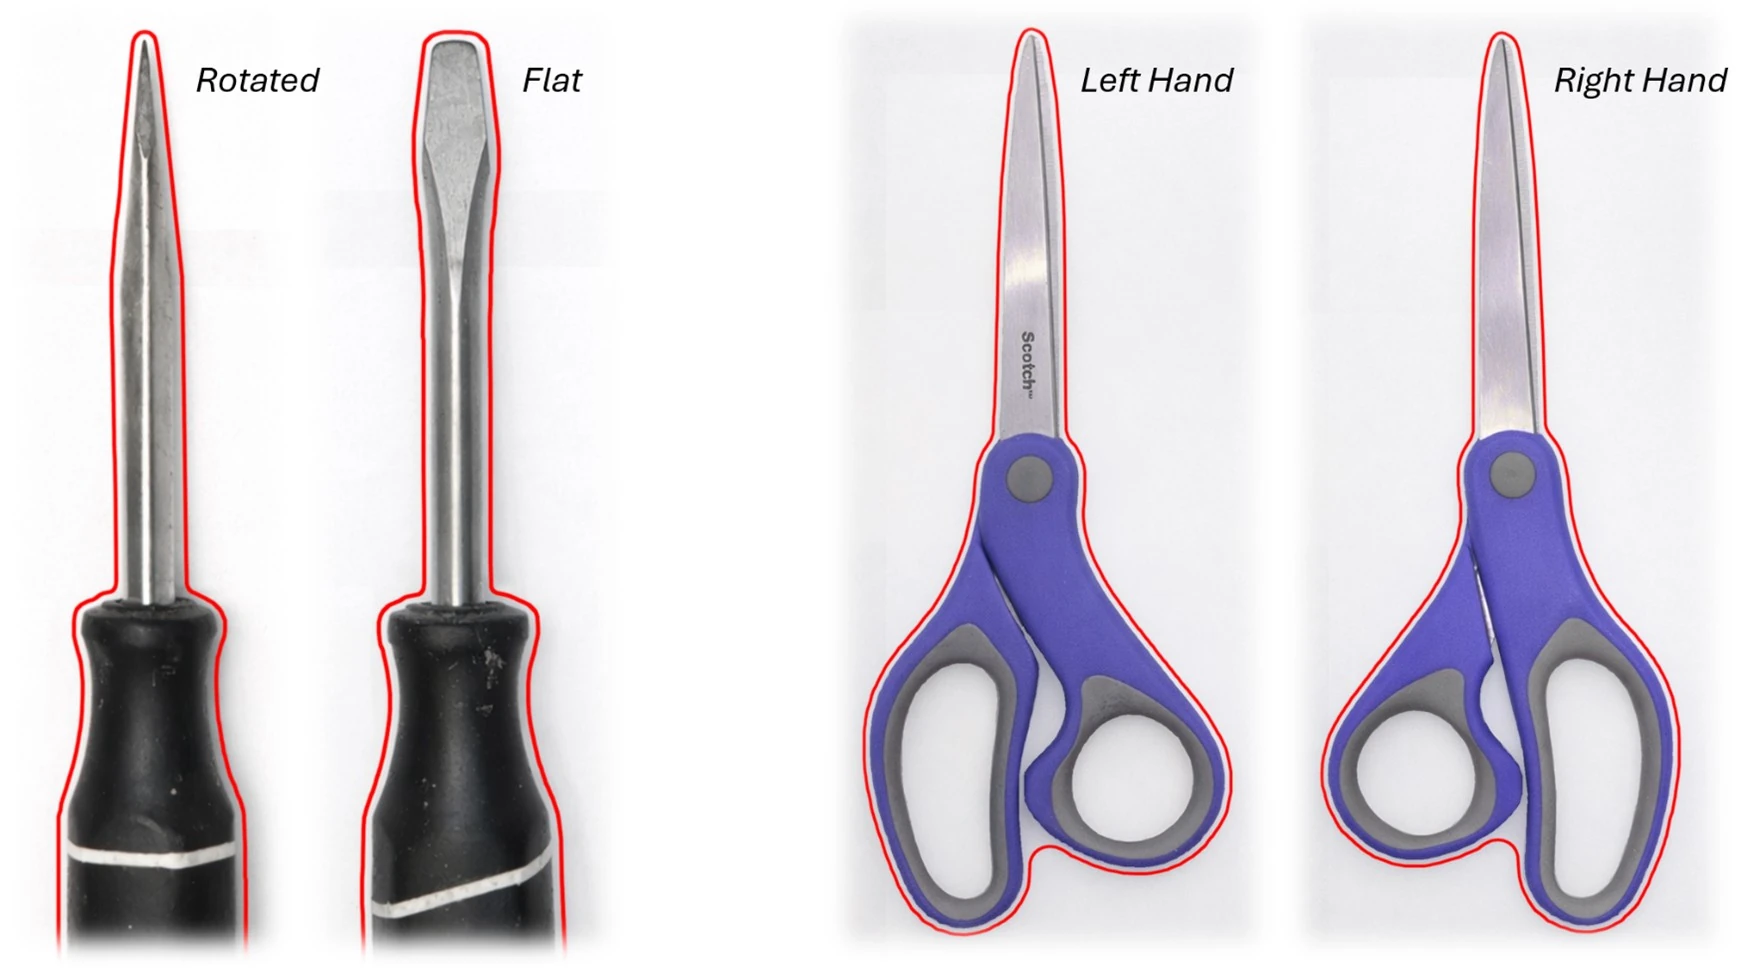
Cutouts are based on the orientation of the tools in your photo.
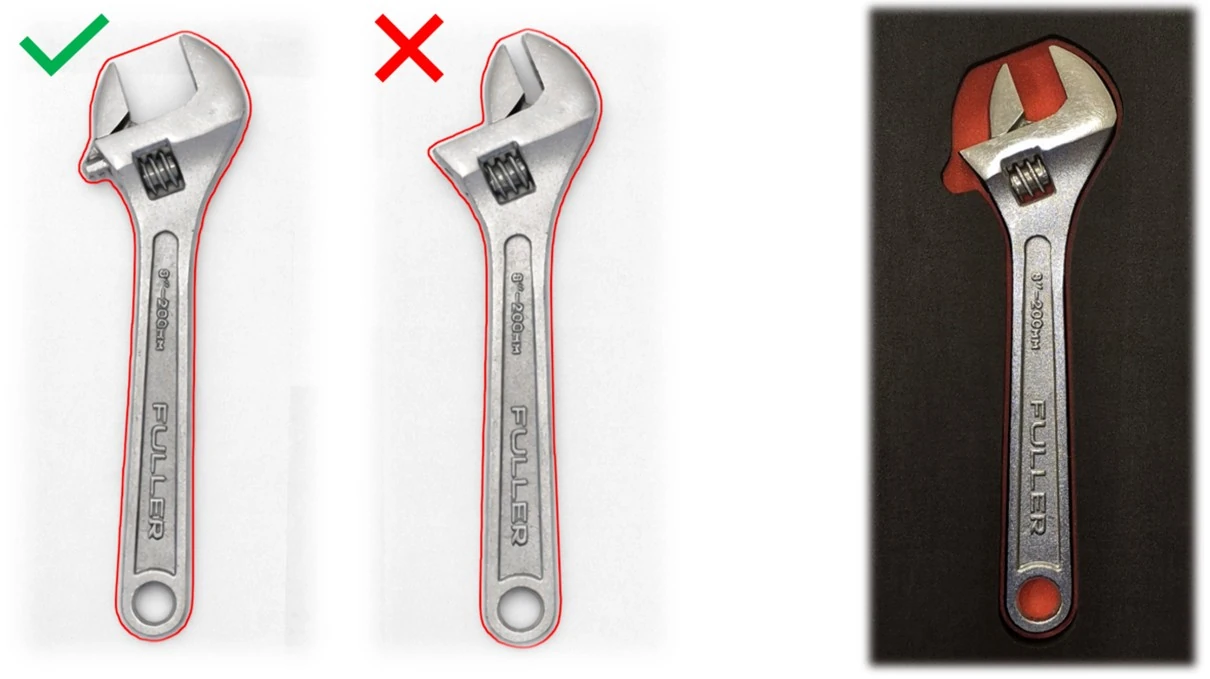
Fully open adjustable wrenches before taking the photo.
This allows you to capture the full profile so the wrench will still fit at different adjusted positions